Pergola installation
Pergola Installation in Miami & South Florida
A pergola is only as good as the day it goes in. Most of what separates a structure that is still square in ten years from one that is not happens below the deck and inside the connections — before anybody sees a finished beam.
- Covers
- Freestanding, attached, replacement and upgrade installations
- On site
- Set-out, footings, frame, roof, finishing, clean-up
- Works around
- Existing pools, decks, screen enclosures and landscaping
- Service area
- Miami-Dade, Broward and the Upper Keys
Freestanding or attached
Attached structures tie into the house — usually into the fascia or the roof structure — and extend the roof line outward. They feel like part of the building, need a smaller footprint, and put fewer posts in the yard. The critical detail is the connection and the flashing: water has to be shed away from the wall, not into it, and the tie-in has to carry load into something that can take it.
Freestanding structures stand on their own four (or six, or eight) posts and go wherever the shade is actually needed — mid-deck, across a pool, around a firepit, at the far end of the yard. They avoid touching the house at all, which on older or unusual roof structures is often the cleaner answer. Most of the pool projects in our gallery are freestanding for exactly that reason.
Working around what is already there
Almost no installation happens on a blank slab. Pool shells, plumbing runs, deck drains, irrigation lines, electrical, tree roots, screen enclosures and property setbacks all rule out post positions, and they are found before the design is finalised rather than on the morning of the dig.
Access matters as much as the yard itself. Long aluminium extrusions and insulated panels have to physically reach the back of the property. Narrow side gates, tight corners and neighbours' fences are all normal, and all worth checking at the site visit rather than discovering with a truck on the street.
How long it takes
The build itself is usually the shortest part of the calendar. Most of the elapsed time goes to design revisions, engineering drawings where they are required, building department review, and lead time on custom-fabricated aluminium — none of which happens in your yard.
On site, footings and their cure are the fixed cost in time; the frame goes up quickly, and the finishing work is what fills the remaining days. [LEAD_TIME] — realistic typical durations should be filled in here once they can be stated accurately.
Permits and approvals
Permitting is set by your local building department and depends on the structure's size, height, how it is anchored, and where it sits on the lot. Requirements are not the same across Miami-Dade, Broward and Monroe County, and it is not something to take a general answer on from any website. [PERMIT_POLICY] — describe here exactly how Machin Solutions handles permit applications and engineering drawings.
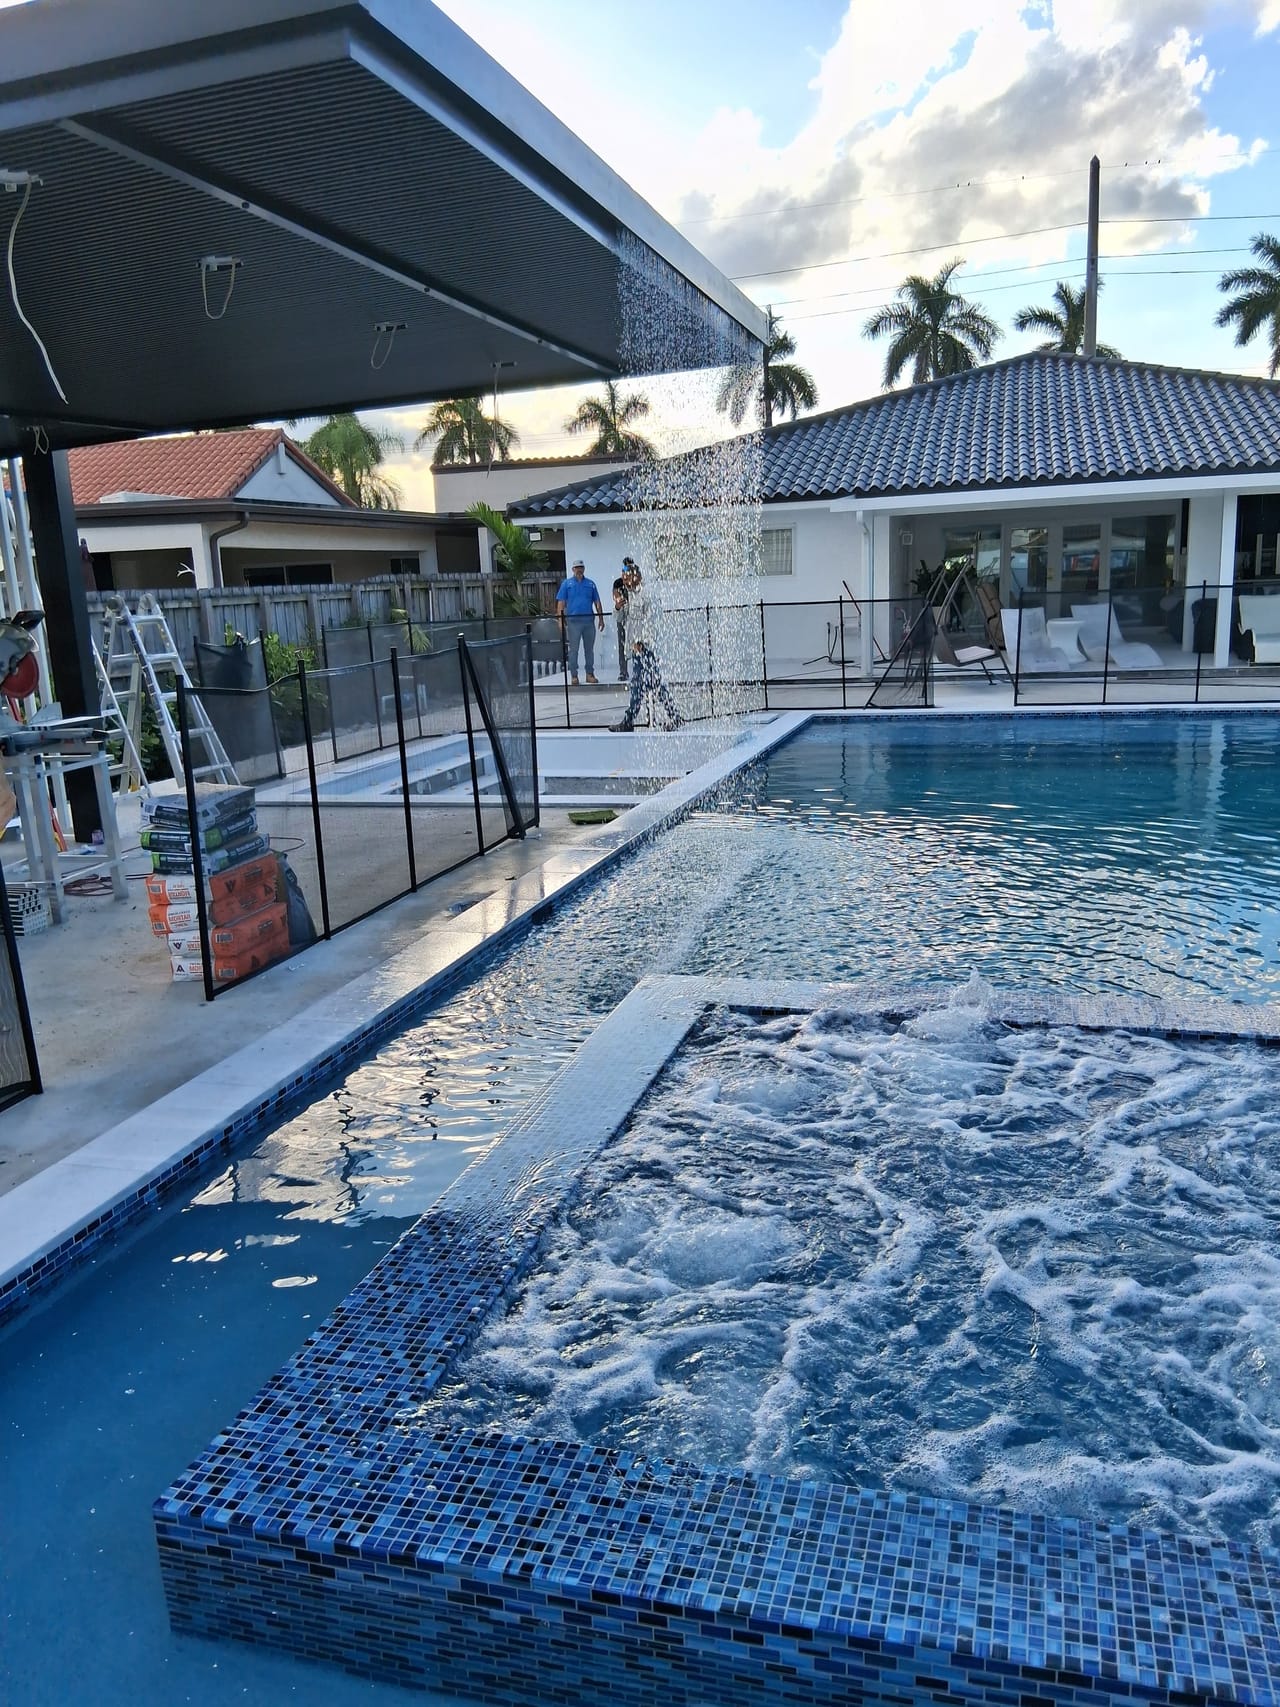
On site
What actually happens in your yard
-
Set-out
The structure is marked on the ground in its real position before anything is dug. This is the last easy moment to move it six inches, and it is worth walking it with us.
-
Footings
Excavation, reinforcement and pour, sized for the loads the structure will actually see — including uplift, which is the load that matters in a storm. Curing time is not negotiable.
-
Frame
Posts set and plumbed to the anchors, beams landed and connected. The frame goes up faster than people expect; the accuracy comes from the set-out and the footings underneath it.
-
Roof
Rafters, louvres or insulated panels installed and sealed, with falls set so water goes where it is supposed to rather than off the front edge onto your seating.
-
Finishing
Soffit panels, slat screening, lighting, fans, speakers and any television mount. This is where a structure stops looking like a frame and starts looking finished.
-
Clean-up and handover
Spoil removed, deck washed down, offcuts and packaging taken away. You get walked through what was built and how anything moving is operated.
End to end
The full project sequence
Installation is the visible part. Here is where it sits in the whole job.
-
Tell us what you want to build
Send photos of the space, rough dimensions and what you want to do under the structure. That is enough for a first, honest read on what will work.
-
Site visit and measurements
We come out, measure properly, check access for materials, look at where footings can go, and see how the structure would meet the house and the pool deck.
-
Design and written estimate
You get a design drawn for your yard — spans, post positions, roof type, finishes and everything built in — with a written estimate against it.
-
Approvals and fabrication
Drawings and paperwork go where they need to go, and the frame is fabricated to the approved dimensions while that runs.
-
Installation
Footings, frame, roof, then the finishing work — lighting, fans, screens, soffit panels. Your yard gets cleaned up before we leave it.
Book a site visit
The fastest route to a real answer is someone standing in the space with a tape measure. Send photos and rough dimensions and we will arrange it.
Ready to get it built?
Tell us what you want covered and where. We will tell you what it takes to install it there.